Stymix is a hub of designers, developers, and marketers with the right expertise to help turn your ideas into richer digital products and content experiences
Close
Get in touch
hello@stymix.comFollow us

Building a WordPress site can seem daunting, especially if you are not tech-savvy. But trust me when I say it is easier than you think. Moreover, knowing how to build a WordPress site is one of the skills you need to have in this tech-dominated world.
Before you turn on the panic mode, read this article as I walk you through a step-by-step guide on how to make a WordPress website.
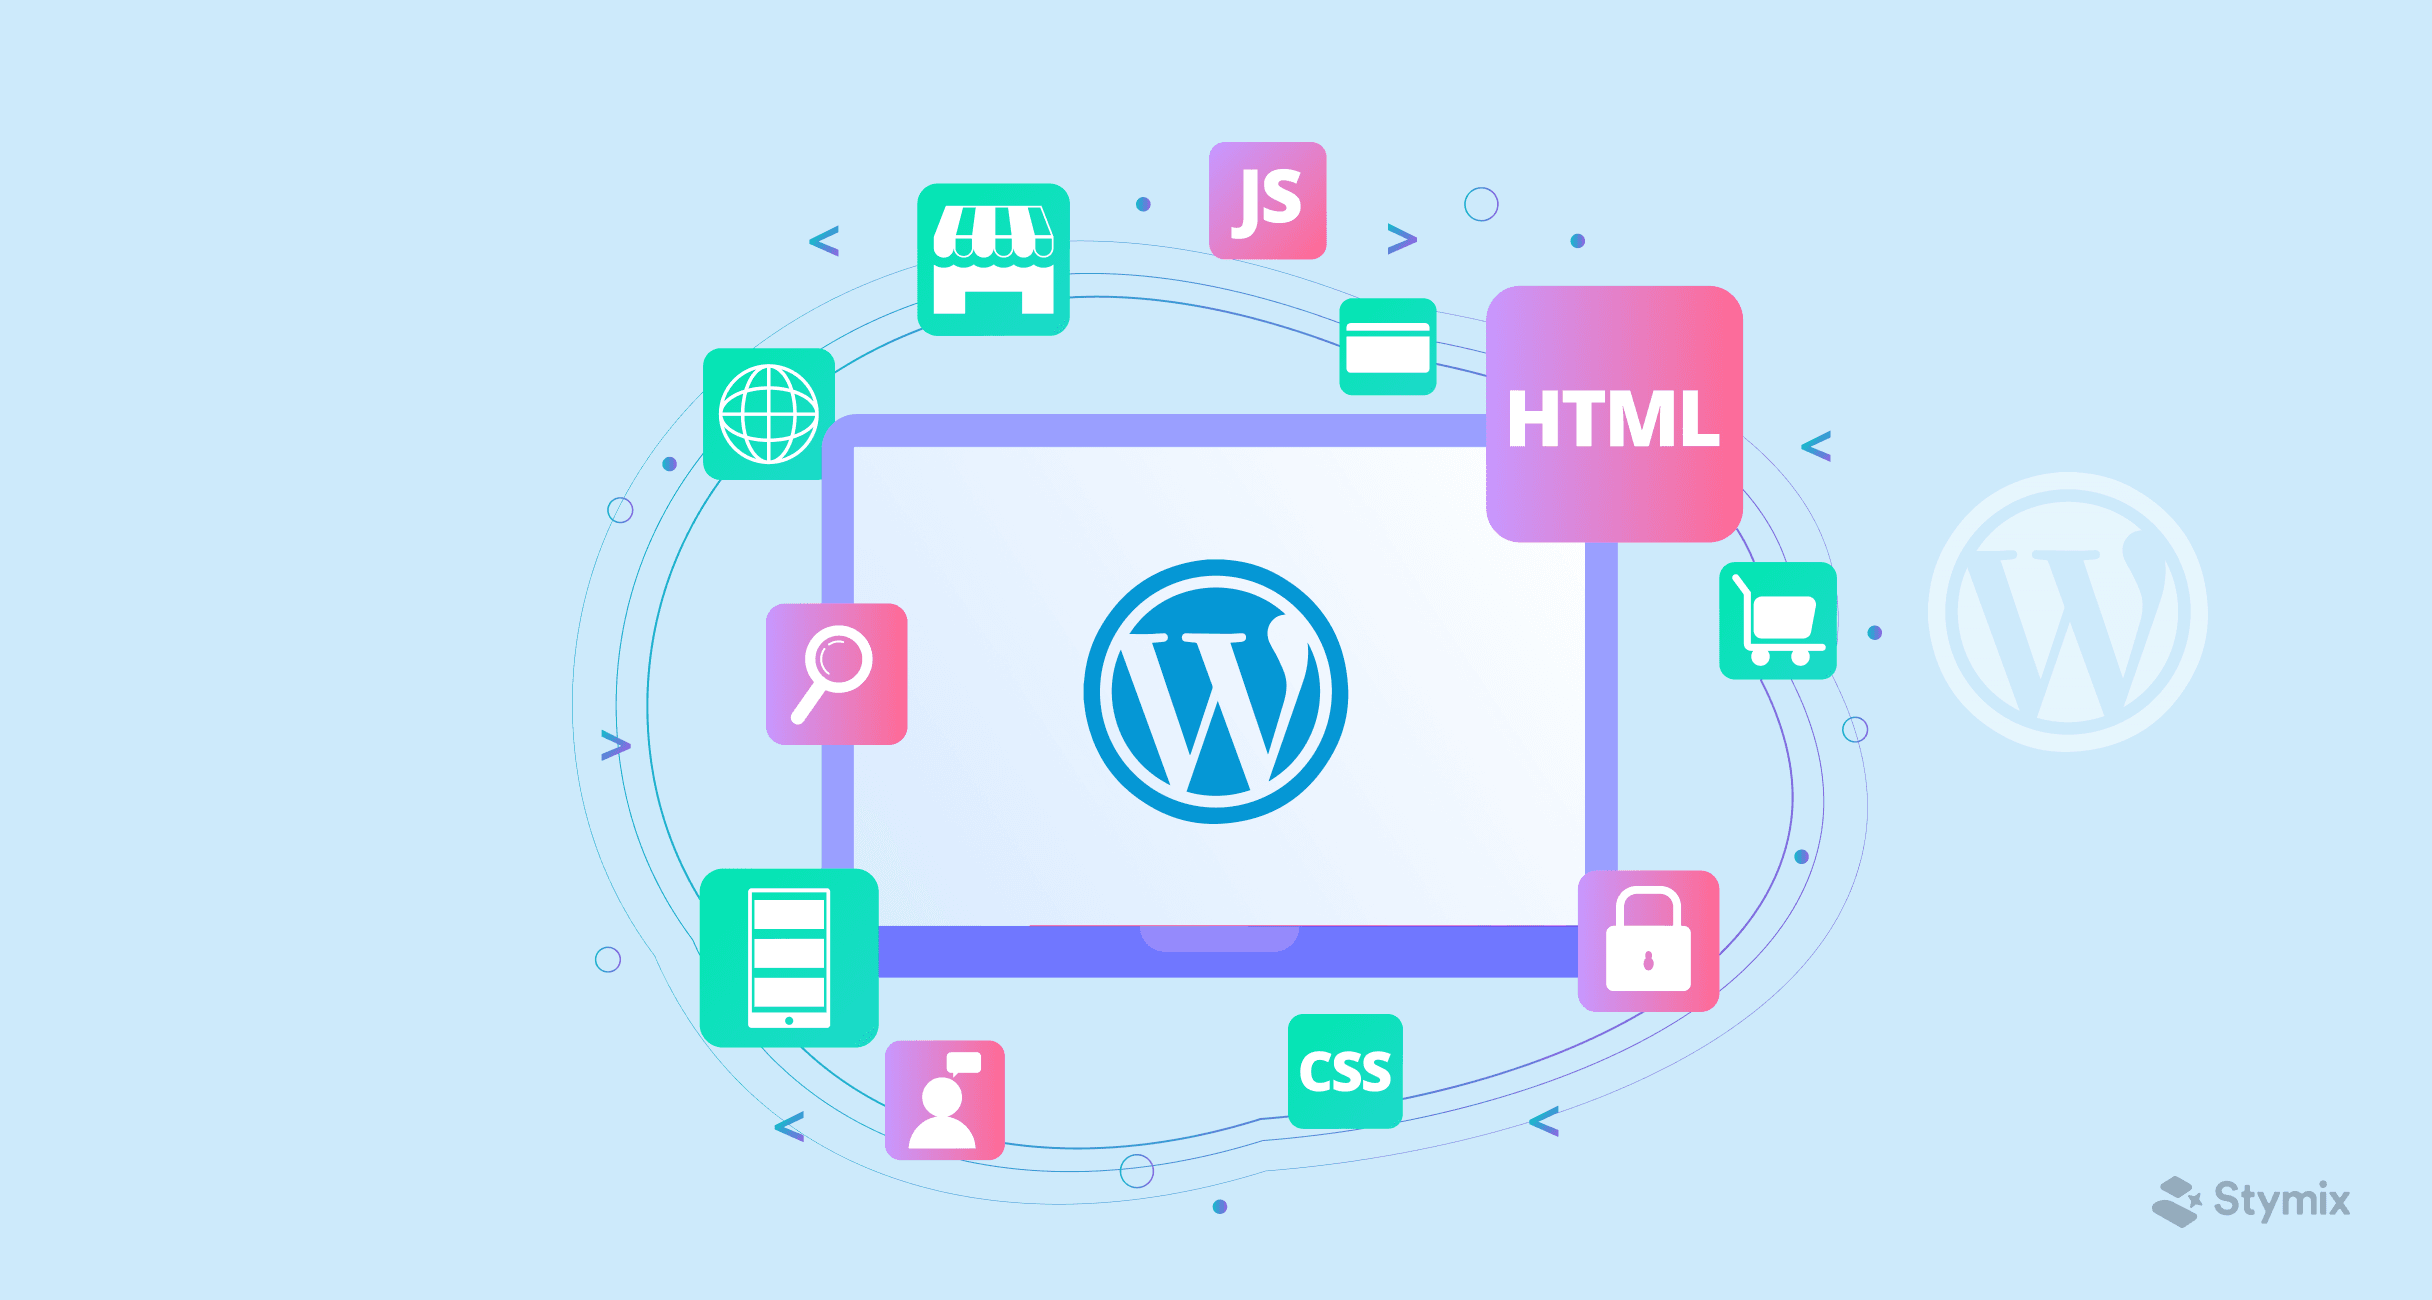
To define what is WordPress website in more technical terms, WordPress is a free content management system operating under a GPLv2 license. Anyone can access and modify it without any prior technical knowledge. WordPress powers 43% of the websites on the internet. Read here why it is so popular.
Even though WordPress started its journey as a blogging tool, it has transformed itself over the years. Right now, you can create a website of any kind through its array of plugins and themes. For a self-hosted site, go for WordPress.org, and for paid service, go for WordPress.com.
WordPress is a fan-favorite with the staggering number of users they have. But that shouldn't be the only reason you choose WordPress as a cms. Here are some compelling reasons why you should choose WordPress as your CMS -
WordPress is free, open-source software, making it a practical choice for many. This is one of the reasons why WordPress is so popular.
The website builder is flexible, and you can build any website through WordPress themes and plugins. You can customize and create website any way you like.
WordPress is user-friendly, and the website creator can run and create website without having to go through a whole course. Moreover, an already thriving community of users makes it easier to learn.
Getting enough traffic to your website is a big challenge for anny business owner. This will get people to engage with your site/business. WordPress gives you access to powerful SEO tools to maximize website traffic.
WordPress ensures maximum security for your website. The website builder constantly brings out new updates and security measures like strong passwords, two-factor authentication.
WordPress sites are easy to maintain, and you can save a lot of your time and energy.
WordPress is a pretty reliable website builder. To create a website, they offer great features, and the WordPress website cost is also affordable. So, I think wordpress as a cms will be the best choice.
Here I am going to mention step by step process for making a WordPress website. I will discuss everything from how to choose a domain to WordPress website design techniques and finally to publishing the website.
You will need to register a domain name before creating your WordPress site. A domain name is your site's address, and users will find your site through this address. So if you were wondering, YEAH! it is essential!
When choosing a domain name to create a website, keep the following things in mind –
Make sure the domain complements your website. Choose a name that gives your users a subtle idea about your website.
Keep your domain name short and simple.
Choose the right extension for your domain. There are a few kinds of extensions. For instance, .org is for organizations, .com is for commercials and more. Your extension should go with the content of your site.
This goes without saying but make sure your domain name is available. There are thousands and thousands of sites on the internet. Your pick might have already been trademarked. So, keep in mind.
Try to avoid numbers and characters. This makes the domain look complicated.
Now to the actual task – BUY THE DOMAIN.
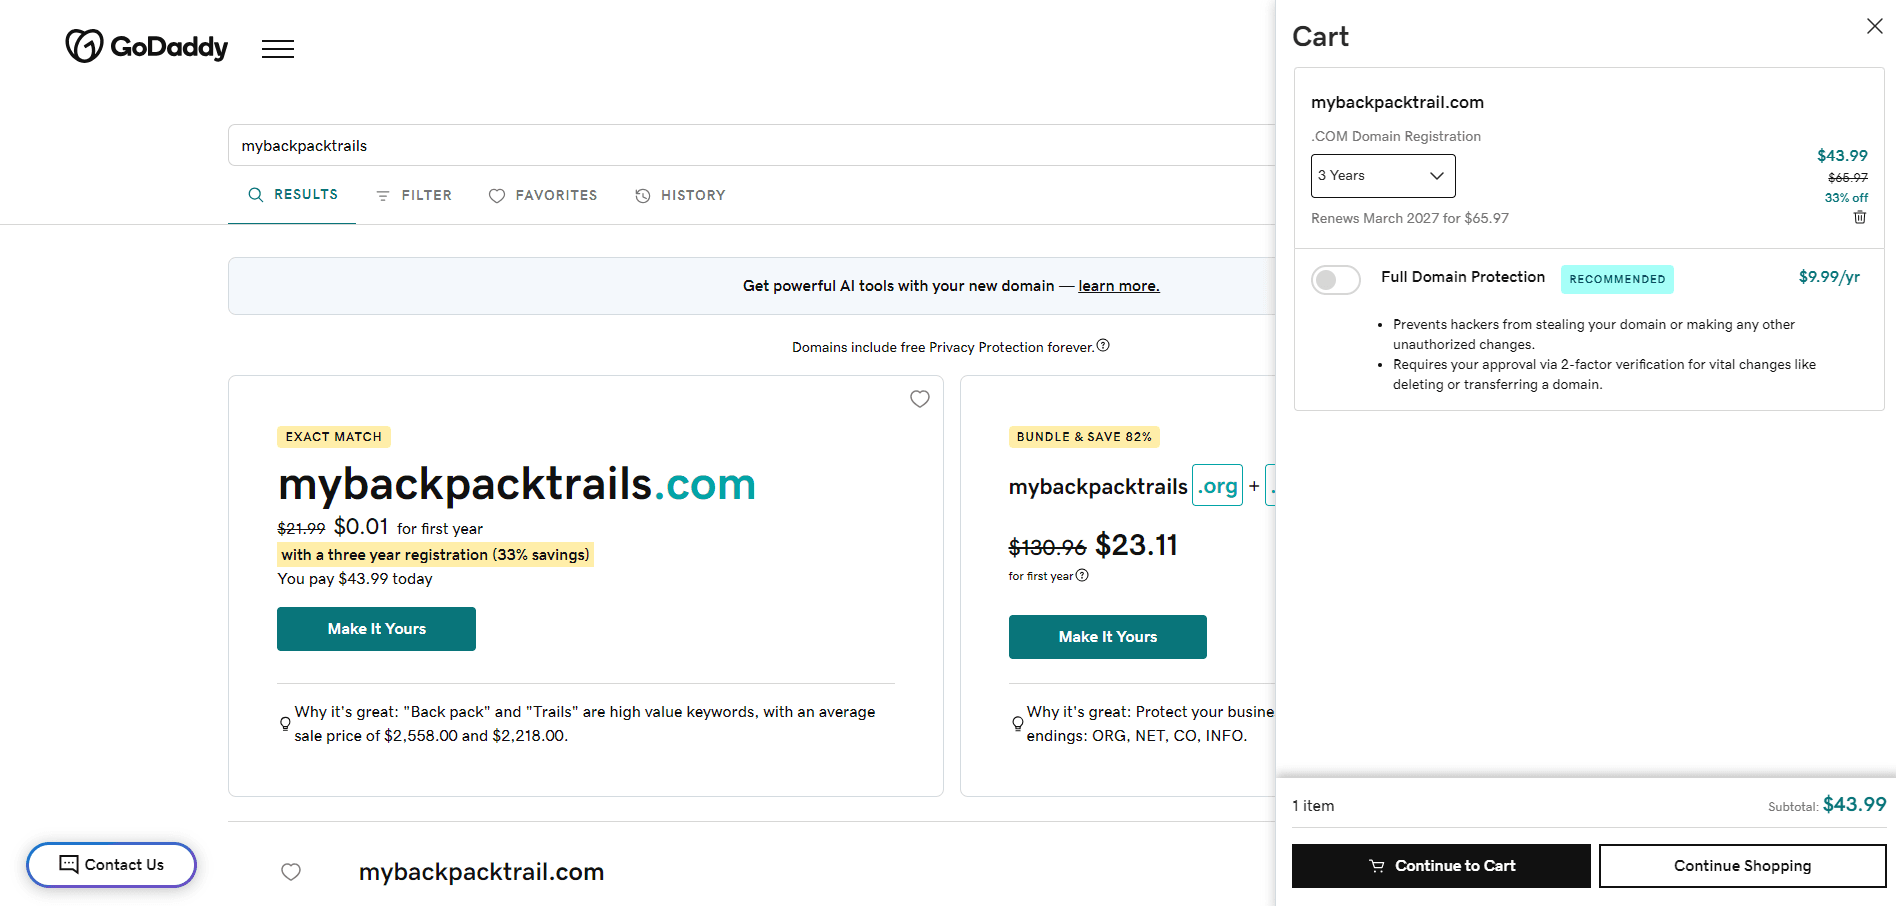
Choose a reliable domain registrar to get a domain. Then check your domain name through a domain availability checker tool to see if it is available or not. You can check in GoogleDomains or GoDaddy for this. Once you find it, it is time to register it. Follow the steps and buy through your domain registrar. They will guide you through the process. To complete the checkout, you must enter your contact and other required information.
Then you have it—your domain.
You can buy an already registered domain. In that case, verify the owner. If you find it reliable, negotiate and make the purchase.
There are options for free domains, but they vary according to the plans. It is always better to buy and register instead of opting for a free domain.
The next step is installing WordPress on your site. Before that, you need to decide which one is the best managed WordPress hosting for your site. There are mainly four types of hosting:
Shared Hosting: You will share the IP address with several other websites. It is budget-friendly; however, you need to compromise with space.
Virtual Private Server: You will share a server with limited users in this plan. So, you have more space and resources, which are a bit costlier than shared hosting.
Dedicated Hosting: You will single-handedly use the whole server. This is usually sutiable for large organizations.
Managed Hosting: A hosting company will handle every issue for you. It is convenient and saves a lot of time if you are not very familiar with the associated tasks.
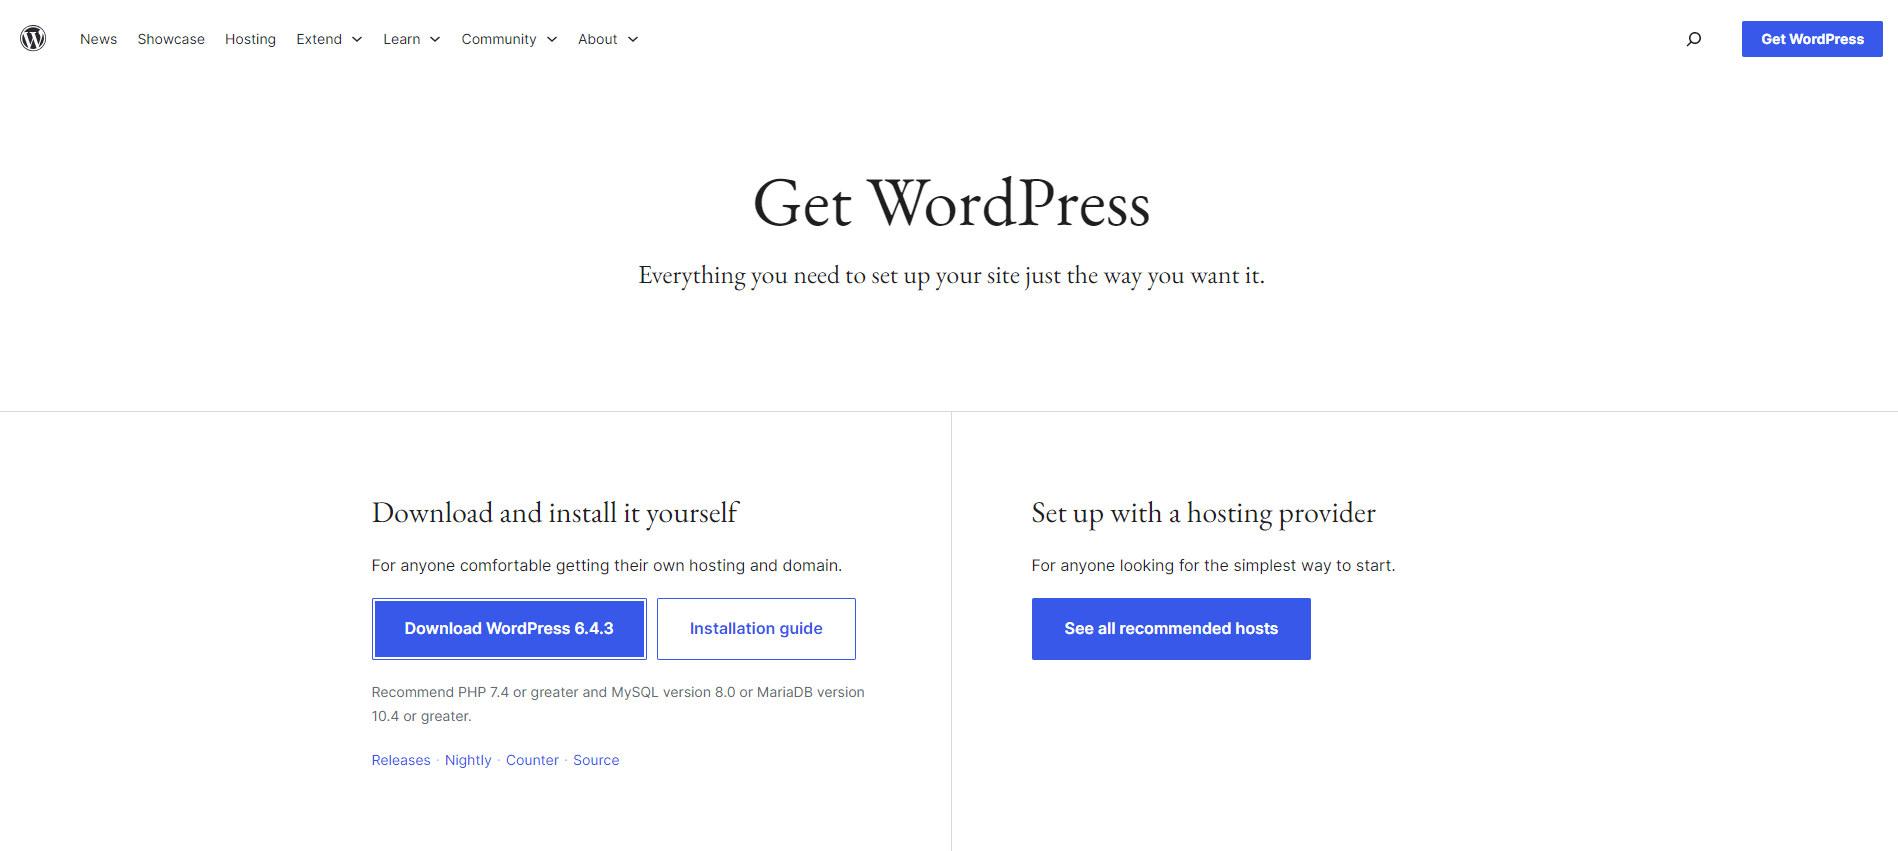
Once you have decided on the best-managed WordPress hosting for your site, proceed to install WordPress -
Download WordPress from the given link
Transfer the package to your account.
Create a MySQL Database.
Connect your database to WordPress.
Finish the installation.
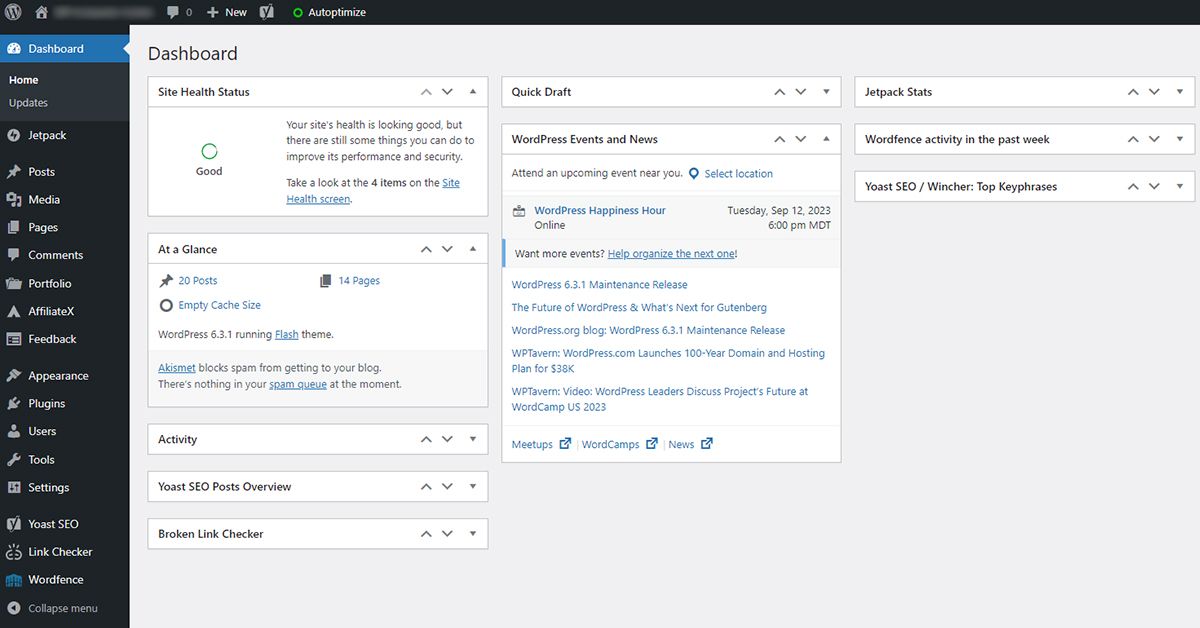
The first time you log in, you will be prompted to a welcome box. They will contain all the required links you will need.
There is At a Glance part which will contain all the posts, categories, pages, and tags. The activity section will show your posts and the site's overall activity. Through Quick draft, you will be able to create a new post. WordPress News is basically the updated feed where you can see all the news and updates.
All the options for managing, customizing, and publishing your WordPress website will be in the left-hand navigation menu. Some options are for -
Posts: Your blog posts will be located here.
Media: All your photos, PDFs, and videos are located here.
Pages: You can separate your content through pages.
Appearance: This option holds all the themes. You can customize your site any way you like. This section contains the menu, widget, background, and header.
Tools: Here lies all the management tasks.
Users: If you have more than one user on your site, this site will help to keep track of them. An admin will add new members, and they also handle edits and permissions.
Settings: It handles all the configuration of the site. There are general, writing, discussion, and reading settings. Handling function of URL, categories, and comments, displays and others.
The dashboard can be customized according to the users. And there is an update from time to time. Once you start using it, you will get a handle on it.
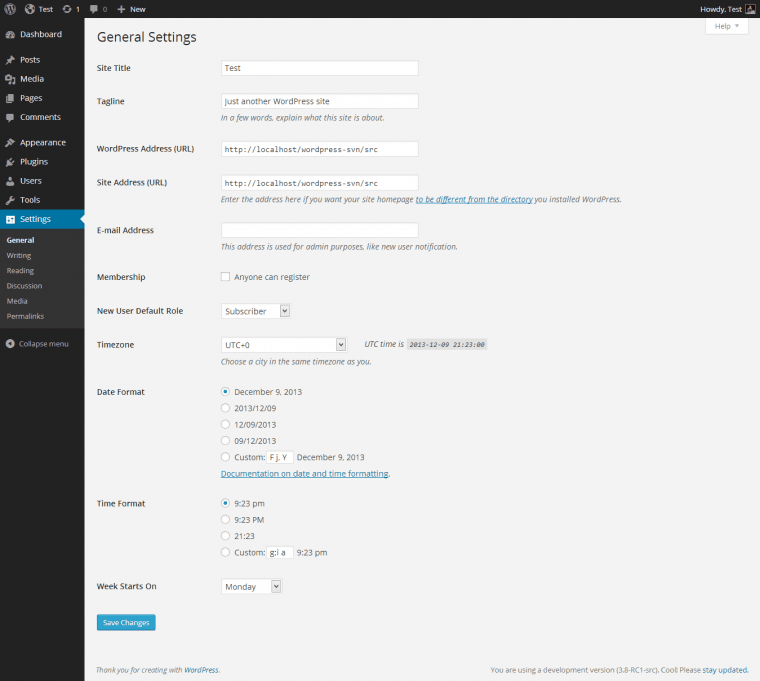
The title is your WordPress site's name, which will be your or your brand's identity. Remember, this is the first impression your clients will get. So, create a title that complements your site and its content.
Then comes the tagline. It is like a slogan – a short statement that complements and boosts the site or product. The tagline will contain a short description of your WordPress site.
Always include keywords in your title and tagline. Whenever search engines explore your site, your title and tagline will be the first things they will engage with. The same phenomenon goes for visitors. Unless they find a reason or interest to stay, they will not. So make sure your title and tagline gives the boost your site needs.
To set your title and tagline, go to Settings > General.
There you will find respective fields for Title and Tagline. There you can type in your site title and tagline.
After you have added them, click on Save Settings. You will find this button at the bottom of your screen.
Then you are all set.
Installing WordPress themes means you are almost at the end of your work, and you can publish your site very soon. Installing WordPress themes is very easy. But first, let me clarify what are WordPress themes. These are a set of style sheets, code, and graphics that set the site's appearance.
When choosing a WordPress theme, keep the following things in mind –
Before going to the directory, list the features you want on your site.
Don't go on installing every feature without knowing. Install features that complement your site.
Don't make the site too cluttered with options. Go for simple WordPress themes.
Choose themes that are compatible with several devices. So, your site is easy to navigate from different devices. It is not possible to sit down with your laptop or desktop. Sometimes you need to make changes on the go. A compatible theme will make it easier.
Color schemes are significant in online marketing. Your theme should be coherent with your brand logo color scheme.
Even though free themes work initially, switching to premium ones is better when you have financial stability as they offer more room for customization. The premium themes offer features that make you stand out from the crowd.
Go for the user-friendly font. They should be simple and easy to read.
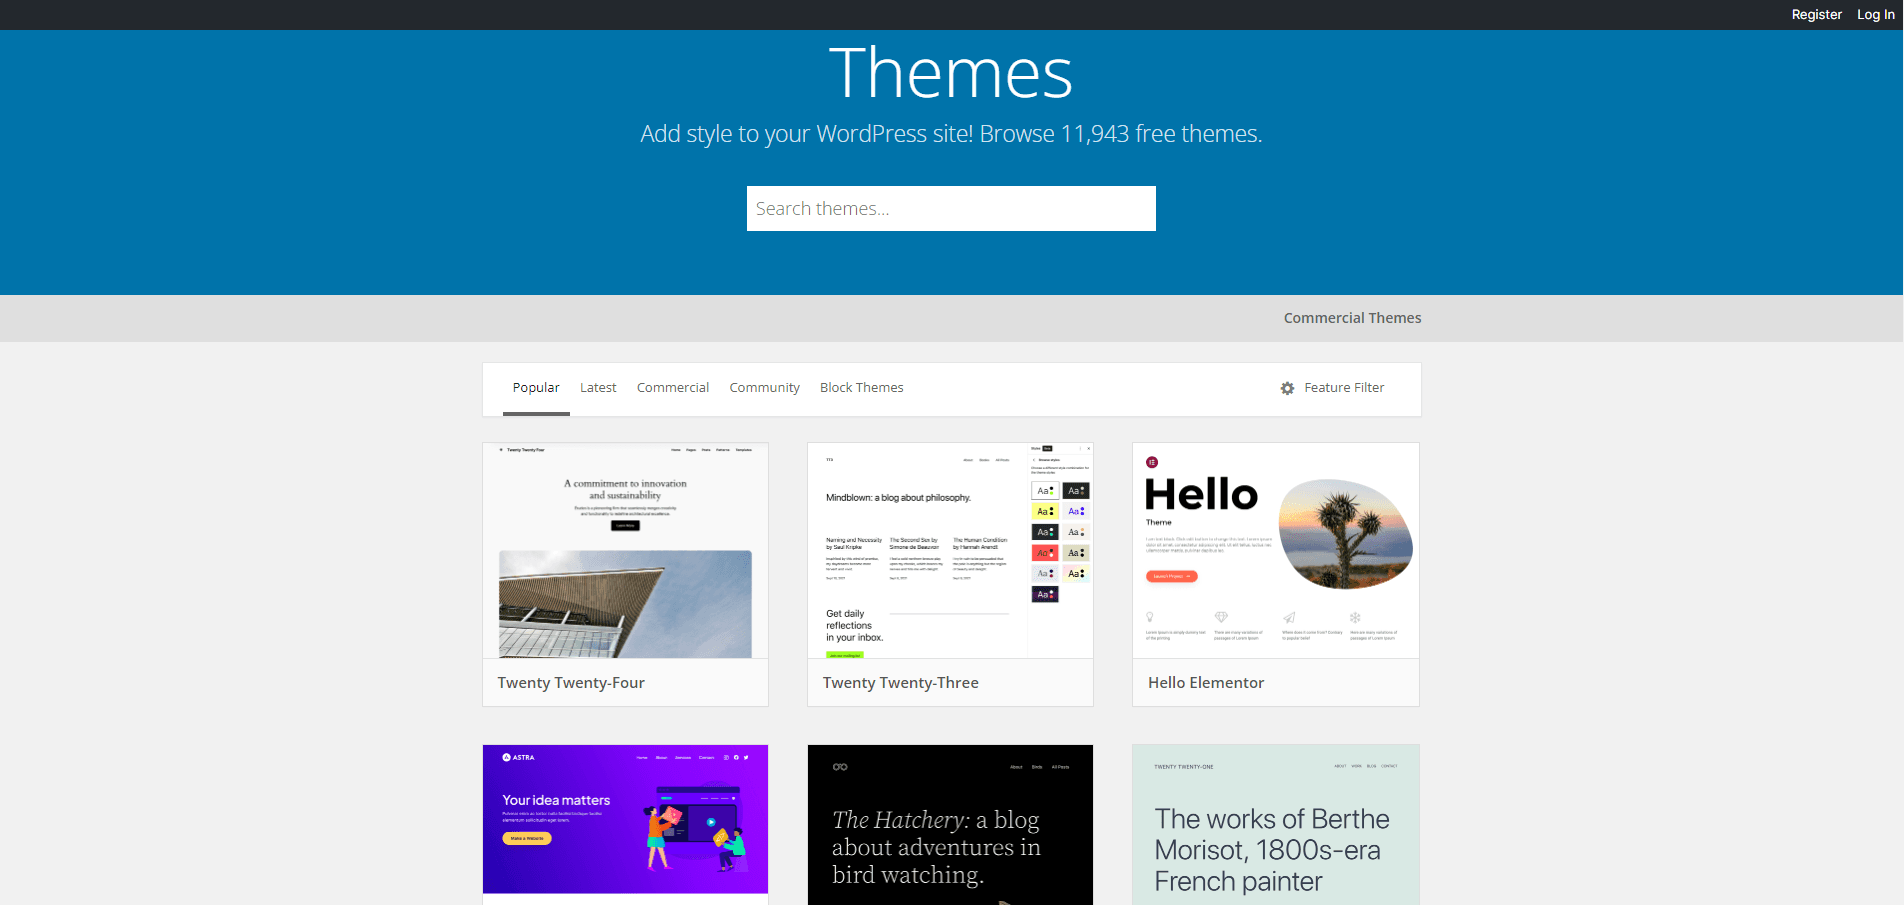
All the themes are there on the WordPress themes directory. If you have any particular style or theme in your mod, type in the related words in the theme search bar.
WordPress has sectioned its themes with the most popular ones, new ones, and Block themes. You just take your time and find the one that fits your brand and content. It can be simple WordPress themes or block themes.
If you still find it confusing to choose, go to the Theme Handbook. Starting from talking about all the basics to how you can get started, they covered it all.
To help your research, here are some of the popular themes right now -
Astra: Astra currently holds the record for most downloaded WordPress themes. It is a multipurpose theme working with both free and premium versions. The best part is they don't ignore their free users, and they work tirelessly for them while offering powerful functionality to their premium users.
Divi: Divi offers you an immersive page-building experience without having to code. With its countless customization options, drop-and-drag builder, pre-built layout, and mobile-friendly interface, Divi lets you build the perfect website - The one you love.
Avada: Avada has been a favorite for many years now. It has been able to keep its fame intact due to its various business niche, personalized pages, SEO tools, and a combined theme and page builder that puts others to shame.
Betheme: With over 600 pre-built websites, Betheme has an option for every business. You can work with a demo and customize and launch it in minutes.
GeneratePress: If you are looking for a reliable, fast, and user-friendly theme, this is the one.
There are many other options. There are Hello, OceanWP, Sydney, The7, and others, all of which offer unique features that will transform your site.
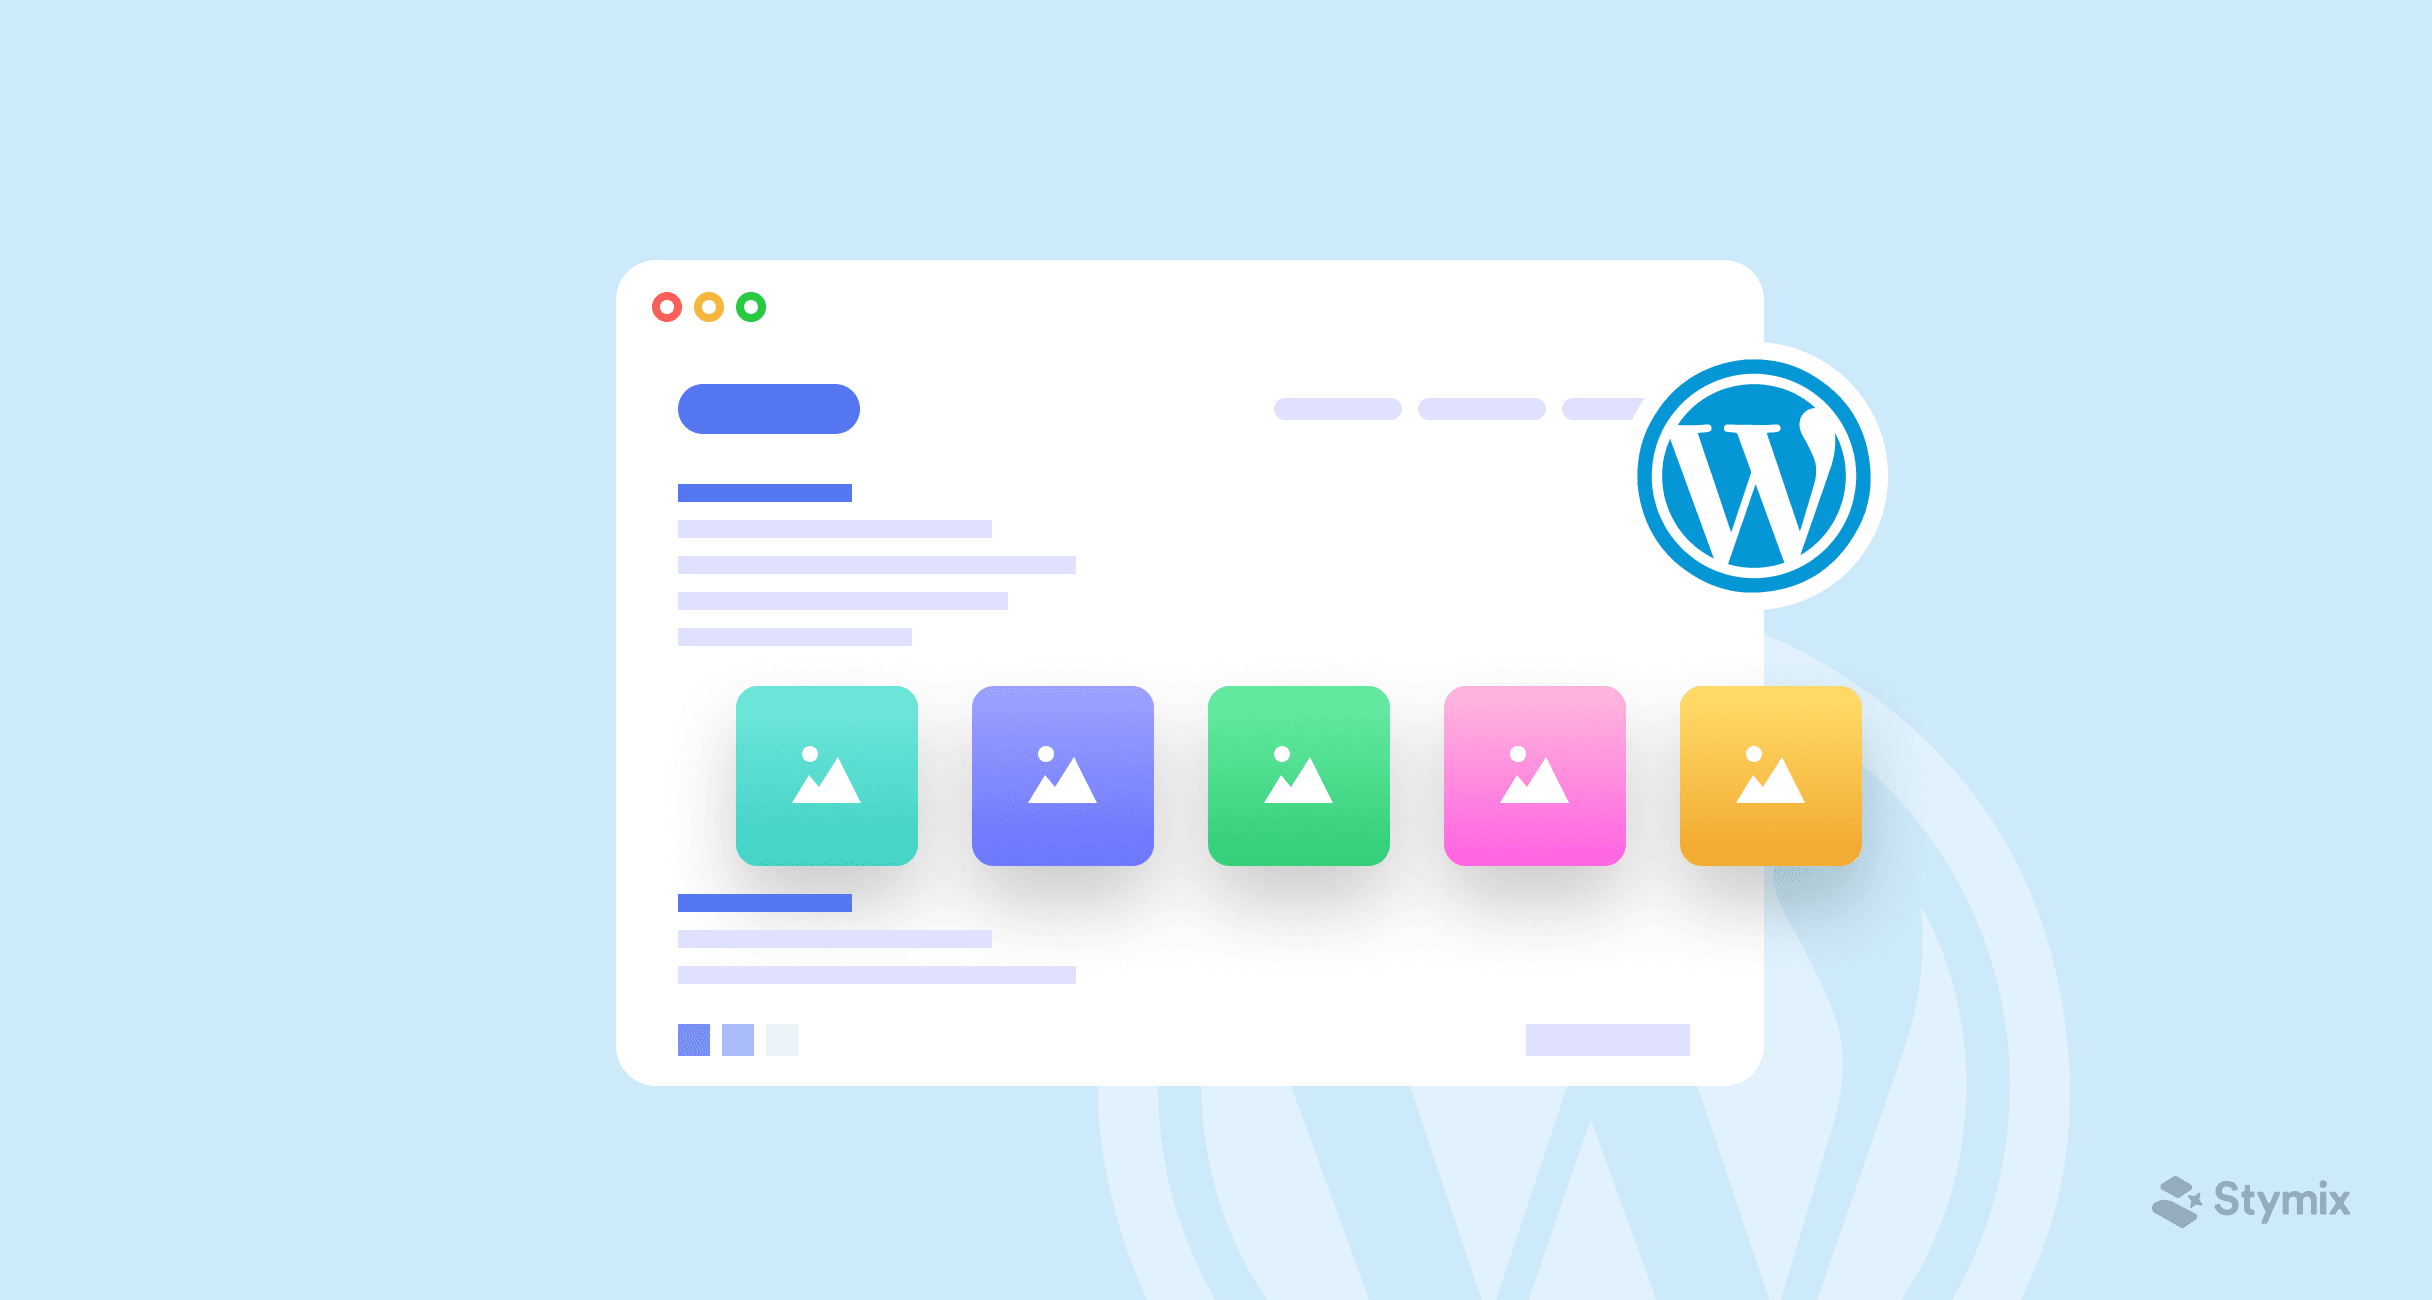
Pages are where your display stays. You can add as many pages as you like and section your details and brand information individually on different pages.
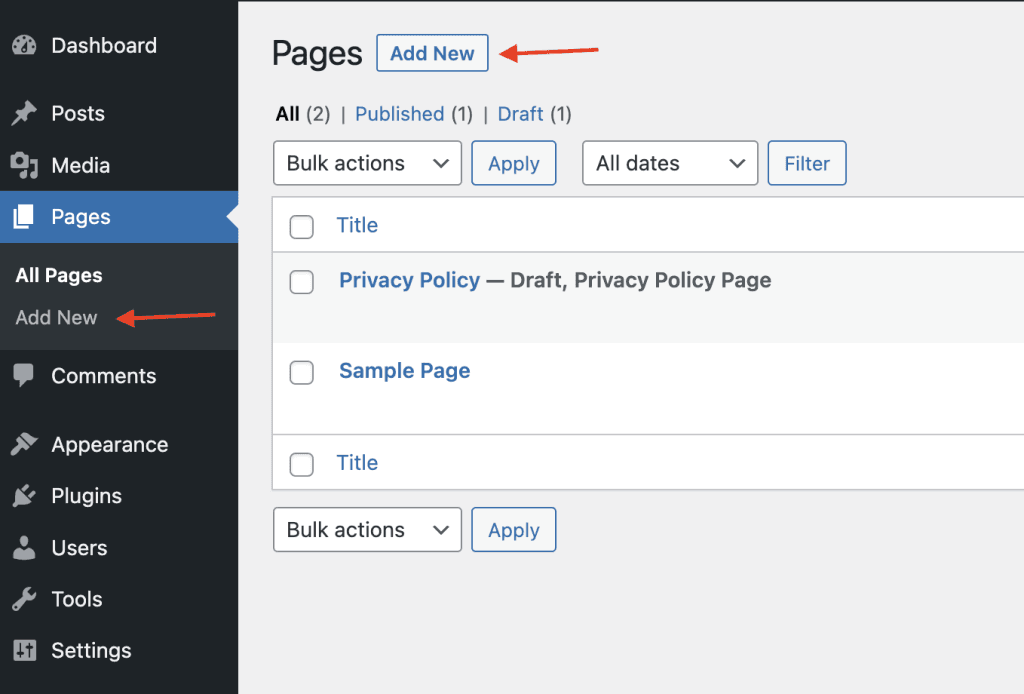
To add a page to your site -
Go to the WordPress Dashboard Navigation. There you will find the pages section.
Choose Add New. There you will find a Dropbox titled Block editor. You will find different paragraphs, images, and videos on different blocks. You can change the color, alignment, and width of the blocks. Each block will have its respective icons.
Then you will have to add the title of the page. After that, you can start adding your content to the page. It can be words, images, tables, statistics, and more. There will be blocks for each section. The WordPress block includes paragraphs, Images, Heading, Gallery, List, Quote, Audio, Cover, File, and Video.
You will see a Document button on the page editor's right side, containing all the page settings.
Then comes the Status and Visibility section, which contains all the details about your page visibility. There are three buttons in total.
The Permalink section allows you to edit and customize your page URL.
The featured image is the image that pops up on the page thumbnail. So choose the one which goes with your page.
The discussion button allows you to allow or turn off the page's comment section.
Page attributes mean the parent templates and page to your existing page. It has templates, orders to arrange numerically, and others.
A WordPress plugin denotes software plugs into the site; their job is to add or extend functionality. With plugins website creators can create any site in WordPress. You can do anything with the WordPress plugins starting from minor adjustments to major ones.
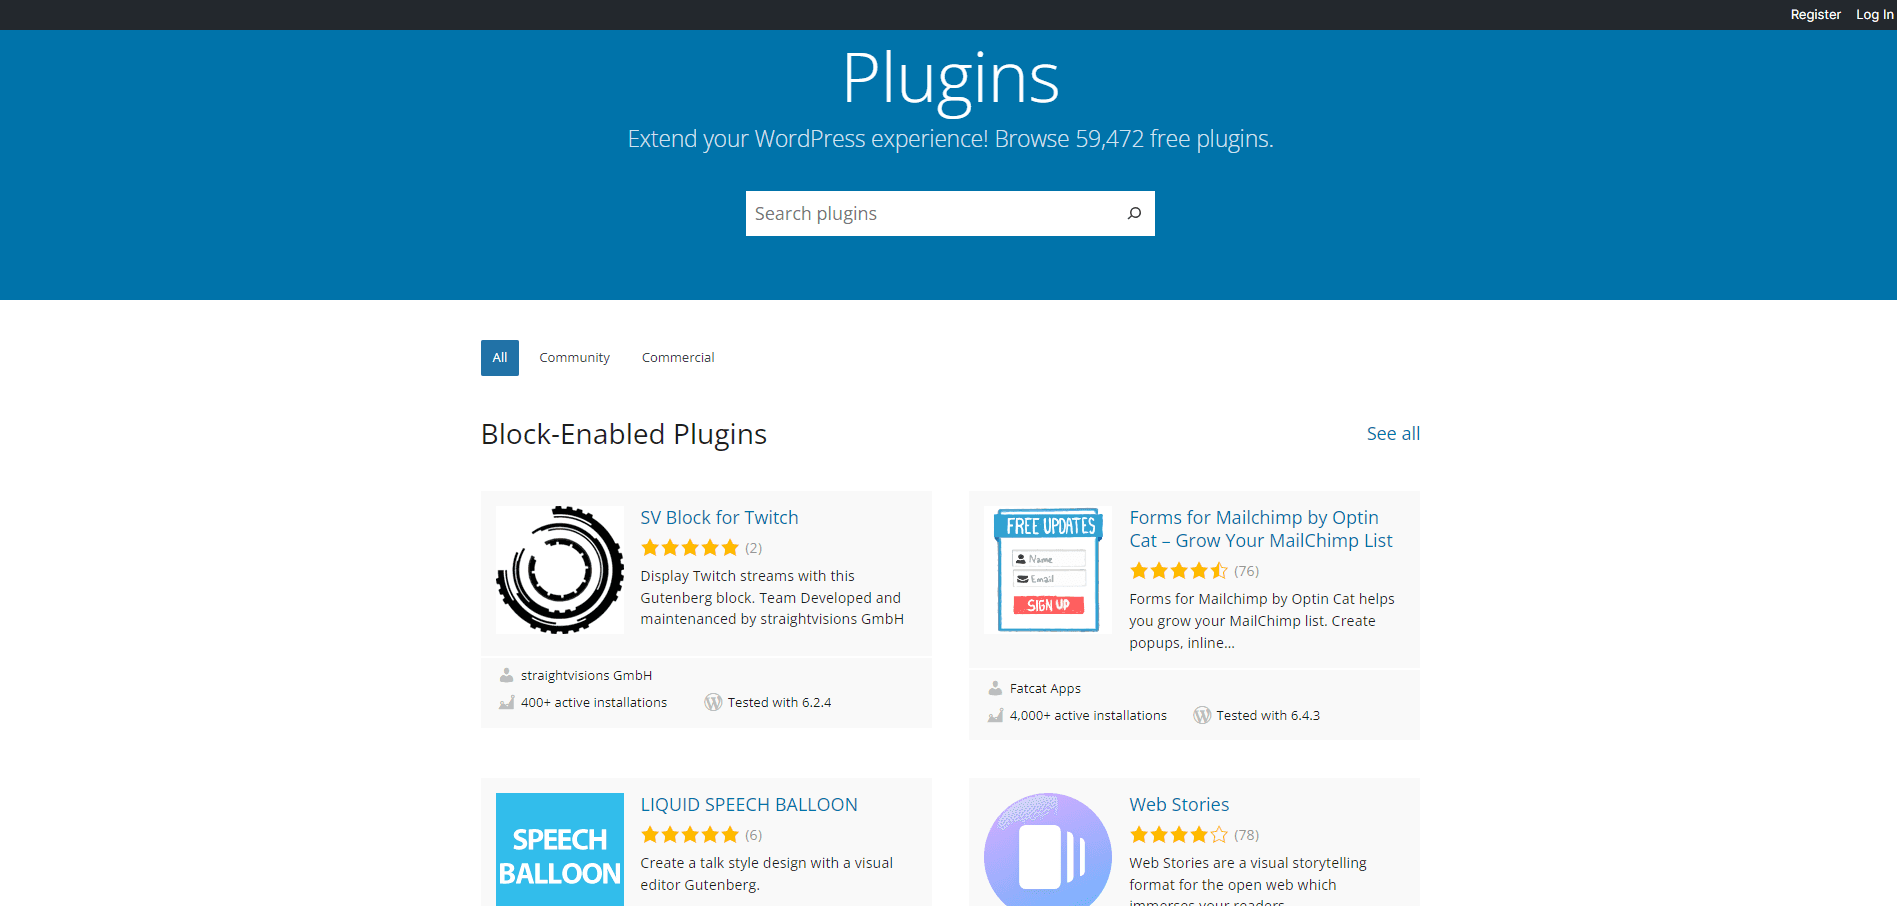
Here we will explain how to install the plugin from the dashboard.
Choose Plugins > Add new from the WordPress dashboard.
You will find a search bar in the right corner. Search for the plugin.
After selecting the right plugin, install it. There will be an Install Now button.
You must activate the plugin to run it. After the installation, click the Activate button.
You can deactivate any plugin. For that, just go to Plugins > Installed Plugins.
You can also upload plugins manually. There you will need to upload the .zip file and then run it.
The next option is uploading through FTP. Just add the .zip file and connect the server with FTP. Then fill out some required information and the usual installation process.
WordPress plugins work almost immediately after activating them. However, some may require additional steps. To see all the plugins feature, go to Plugins > Installed Plugins. There you will find all the Installed plugins. Afterward, go to the settings of the plugin you want to use. Plugins are the best way to increase engagement and traffic to your site. The plugins' functionality will help you understand consumer behavior, recent trends, and future investments.
WordPress offers many great plugins. There is a WordPress google tag manager plugin to manage analytics and marketing tags. Using the WordPress google analytics plugin makes it much easy to track traffic and related statistics of your WordPress website. The WordPress Yoast SEO plugin works with the SEO of the WordPress site.
Congratulations, you have successfully created your website. Now all you need to do is Publish the site. It is the last step. You can either publish immediately or set a date and time to publish at a particular time; website creator may often keep their WordPress website in the draft to complete the work until they are satisfied. In that case you have to Save it in Drafts. It will keep all the work and allow the website creator to edit the page accordingly until they decide to publish it. Just follow the steps
Go to the WordPress dashboard.
At the top of the page, there will be a button that says Coming Soon. It will also provide a link for you to launch your site.
Click on that link to publish your WordPress website.
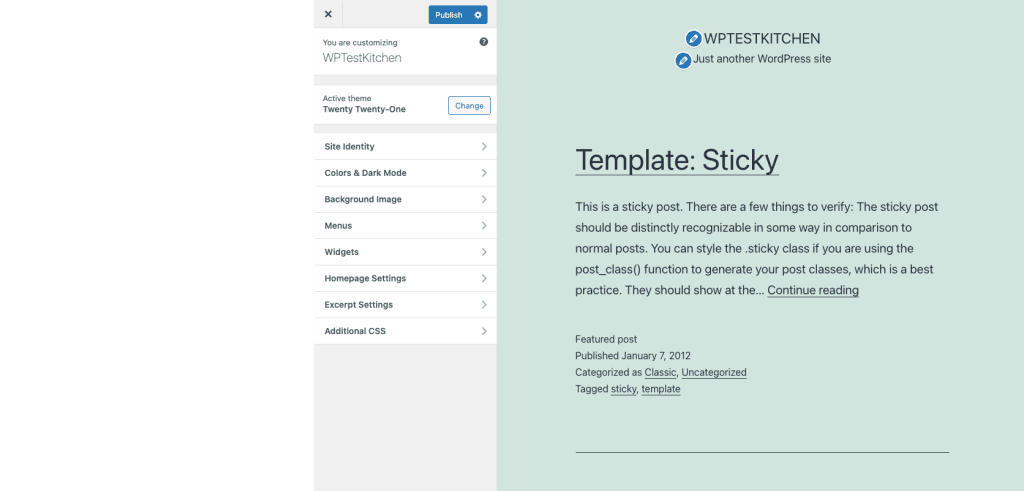
If you are unable to see the Coming Soon button, then,
Go to the Customize your Site button.
There you will find Publish button. Click on it.
To publish later, you need to find and click on the gear icon right beside the Publish button.
And you have your WordPress website. It might seem long and complicated. But trust us, when you sit on your laptop or desktop, you will find it easier than you are thinking right now.
Websites now go on to add a separate blog page to ensure a deeper connection with their potential clients. And it does help.
It helps in more ways than you think. First, the brand can relate to the consumer more personally through a blog instead of coming off as a significant corporate entity. A report showed 71% of people review the company's blog on their buying journey!
Blog can be a powerful marketing tool for your business. They can boost the website's overall traffic and increase a business's conversion rate. And they help build brand awareness. But setting up a blog needs proper planning and strategy.
Adding a blog is like adding a page.
Go to the WordPress dashboard and add a new page.
Then name your page. You can add your company or get creative. It is better to add that it is similar and coherent with the company name and values.
Publish the page. Go to the dashboard and click on Settings > Reading.
Choose a static page and select blog from the drop-down menu for posts. This is the most crucial part because it decides where your blog appears. It can be on the front page or under the drop-down menu of the posts page, which is the ideal option.
Decide the number of posts you want on the blog.
Then start writing and publishing.
You should know how to backup WordPress sites besides learning how to create website. You can do it manually or via plugins. There are many backup plugins available; install one of them, and they will direct you on how to backup WordPress sites.
I have discussed all the steps thoroughly to guide you in making a WordPress website, the one that matches your vision. To recap, we discussed how to get a domain, install WordPress on your site, set title and tagline, themes, create a page and blog, and finally publish.
The process of making a WordPress website is pretty straightforward. Once you get a handle on all the options, you can run your website like a pro. So don't postpone it anymore, just create website for your business.
Think I missed out on something? Comment and let me know.